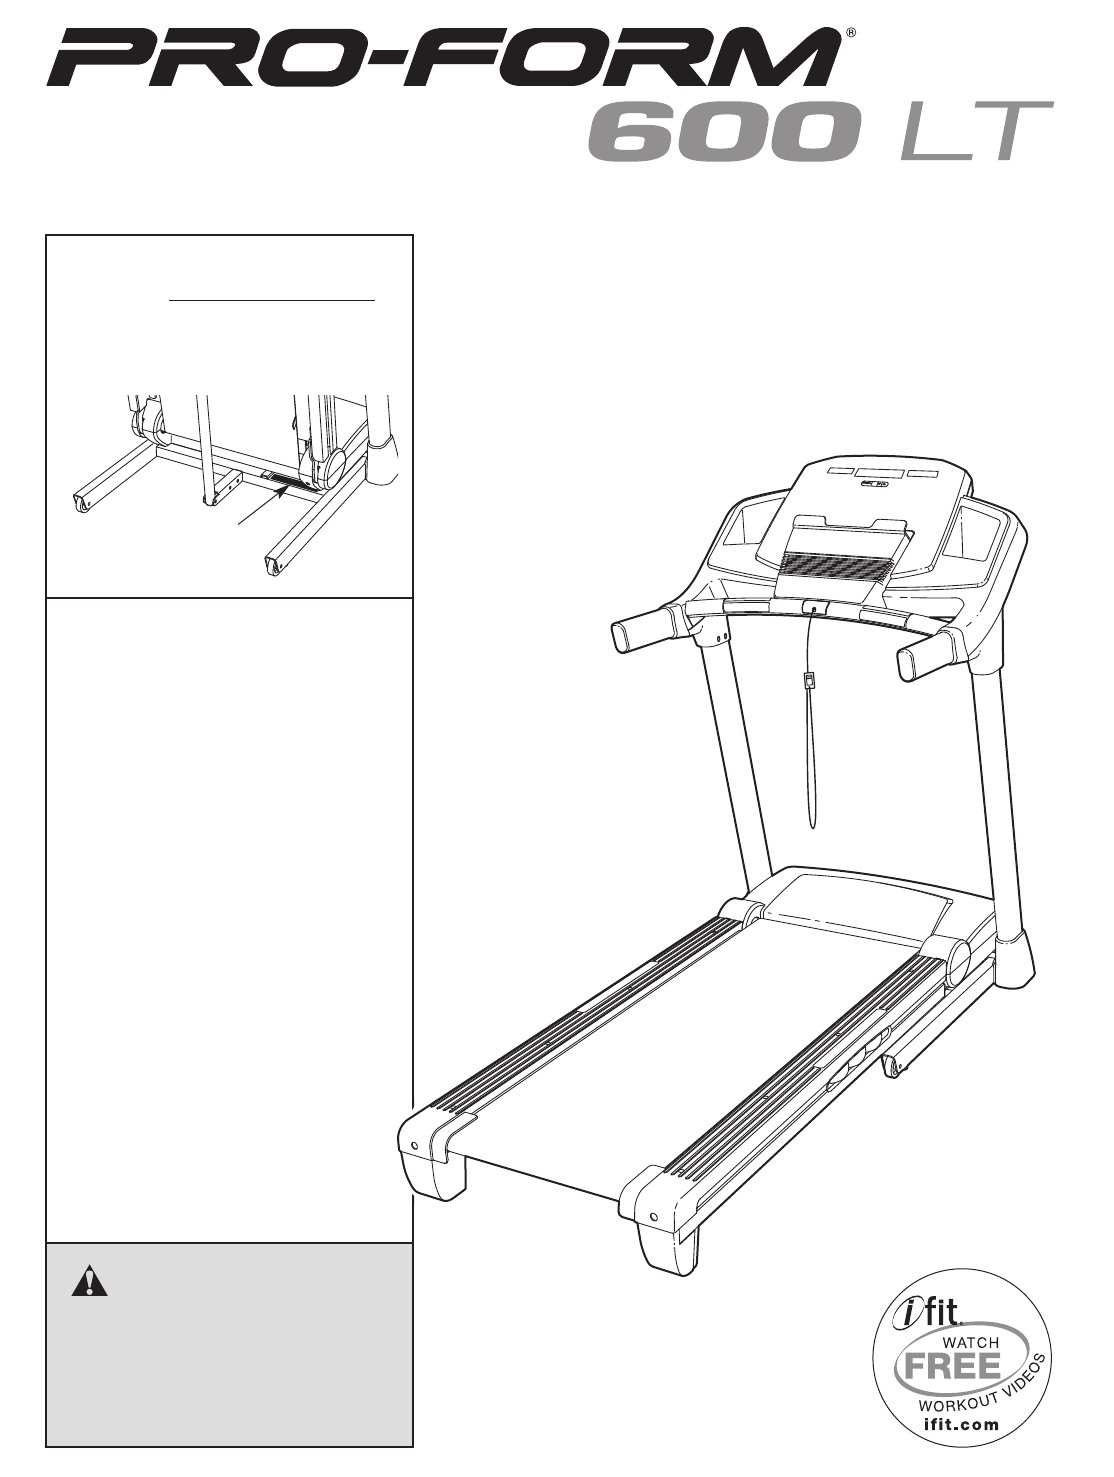
ProForm 600E User Manual
Browse online or download User Manual for Treadmills ProForm 600E. ProForm 600E User`s manual
- Page / 36
- Table of contents
- TROUBLESHOOTING
- BOOKMARKS
- USERʼS MANUAL 1
- TABLE OF CONTENTS 2
- WARNING DECAL PLACEMENT 2
- IMPORTANT PRECAUTIONS 3
- SAVE THESE INSTRUCTIONS 4
- BEFORE YOU BEGIN 5
- ASSEMBLY 6
- OPERATION AND ADJUSTMENT 16
- DANGER: Improper connection 16
- TROUBLESHOOTING 25
- EXERCISE GUIDELINES 28
- Model No. PFTL70010.0 R1210A 32
- ORDERING REPLACEMENT PARTS 36
- LIMITED WARRANTY 36
Summary of Contents
Serial NumberDecalModel No. PFTL70010.0Serial No.Write the serial number in the spaceabove for reference.CAUTIONRead all precautions and instruc-tions
109. Attach the Right Handrail (85) to the RightUpright (81) with two 5/16" x 1" Bolts (5), two5/16" Star Washers (13), and a 5/16"
1110. Set the console assembly face down on a softsurface to avoid scratching the console assem-bly. Remove the two Screws (A). Next, lift off theCros
1213. Set the console assembly on the Left Handrail(84) and the Right Handrail (85). Be careful notto pinch any wires. Insert the excess UprightWire (
1314. Firmly tighten the four the 3/8" x 4" Bolts (7) andthe two 3/8" x 1 1/2" Bolts (8) (only one side isshown).Side the Left Bas
1416. Hold the Left Upright Cover (78) against theconsole assembly. Align the holes in the LeftUpright Cover with the holes in the Left Upright(80). A
1519. Make sure that all parts are properly tightened before you use the treadmill. To protect the floor or car-pet, place a mat under the treadmill.
16OPERATION AND ADJUSTMENTTHE PRE-LUBRICATED WALKING BELTYour treadmill features a walking belt coated with high-performance lubricant. IMPORTANT: Nev
17FEATURES OF THE CONSOLEThe treadmill console offers an impressive array offeatures designed to make your workouts more effec-tive and enjoyable. Whe
18HOW TO TURN ON THE POWERIMPORTANT: If the treadmill has been exposed tocold temperatures, allow it to warm to room tem-perature before turning on th
195. Follow your progress with the displays.The matrix—When youselect the manualmode, the matrix willdisplay a track that rep-resents 1/4 mile (400met
TABLE OF CONTENTSWARNING DECAL PLACEMENT . . . . . . . . . . . . . . . . . . . . . . . . . . . . . . . . . . . . . . . . . . . . . . . . . . . . . . .
20HOW TO USE AN ONBOARD WORKOUT1. Insert the key into the console.See HOW TO TURN ON THE POWER on page 18.2. Select an onboard workout.To select an on
21HOW TO USE THE WEIGHT LOSS CENTER1. Insert the key into the console.See HOW TO TURN ON THE POWER on page 18.2. Select a weight loss workout.To selec
22HOW TO USE AN IFIT WORKOUTTo purchase iFit cards at any time, go to www.iFit.comor call the telephone number on the front cover of thismanual. iFit
23THE INFORMATION MODEThe console features an information mode that keepstrack of the total distance that the walking belt hasmoved and the total numb
24HOW TO FOLD THE TREADMILLTo avoid damaging the treadmill, adjust the inclineto the lowest position before you fold the treadmill.Then, remove the ke
25TROUBLESHOOTINGMost treadmill problems can be solved by following the simple steps below. Find the symptom thatapplies, and follow the steps listed.
26Remove the three #8 x 3/4" Screws (1) and carefullypivot the Motor Hood (61) off.Locate the Reed Switch (71) and the Magnet (48)on the left sid
27PROBLEM: The walking belt is off-center or slips when walked onSOLUTION: a. If the walking belt is off-center, first remove thekey and UNPLUG THE PO
28These guidelines will help you to plan your exerciseprogram. For detailed exercise information, obtain areputable book or consult your physician. Re
29SUGGESTED STRETCHESThe correct form for several basic stretches is shown at the right. Move slowly as you stretch—never bounce.1. Toe Touch StretchS
31. Before beginning any exercise program, con-sult your physician. This is especially impor-tant for persons over age 35 or persons withpre-existing
30PART LIST Model No. PFTL70010.0 R1210ATo locate the parts listed below, see the EXPLODED DRAWING near the end of this manual.Key No.Qty. Description
31Key No. Qty. Description Key No. Qty. Description101 1 Left Tray102 1 Right Tray103 1 Console Frame104 2 Ground Wire105 2 Console Clamp106 1 Console
5219202027303045452846282828383934343448464734444250494038435354544756575836174110232217171818192328282828274117171717910109515932932EXPLODED DRAWING
14141414721771353535111162121272767686966616274737065152727296463607776751515EXPLODED DRAWING B Model No. PFTL70010.0 R1210A33
8968968969393971171126331101108191909092896922425333394958810109263380881111868783823184313108317985821353131082213578168855161616161634EXPLODED DRAWI
979610710110210637371051051031042719910011111116198112412161616161616161616410910935EXPLODED DRAWING D Model No. PFTL70010.0 R1210A
Part No. 309405 R1210A Printed in USA © 2010 ICON IP, Inc.ORDERING REPLACEMENT PARTSTo order replacement parts, please see the front cover of this man
420. Never leave the treadmill unattended while itis running. Always remove the key, unplugthe power cord, and press the power switchinto the off posi
5Thank you for selecting the revolutionary PROFORM®600 LT treadmill. The 600 LT treadmill offers an im-pressive selection of features designed to make
6ASSEMBLYTo hire an authorized service technician to assemble the treadmill, call 1-800-445-2480.Assembly requires two persons. Set the treadmill in a
72. See the inset drawing. Cut the plastic tie nearthe Upright Wire (88).Attach a Wheel (93) to the Base (91) with a 3/8"x 2" Bolt (9) and a
84. Hold the Right Upright (81) against the Base(91). Be careful not to pinch the Upright Wire(88). Insert two 3/8" x 4" Bolts (7) and a 3/8
97. Identify the Left Base Cover (86) and the RightBase Cover (87), which are marked with stick-ers. Slide the Left Base Cover onto the LeftUpright (8
Related products and manuals for Treadmills ProForm 600E
 (18 pages)
(30 pages)
(68 pages)
(18 pages)
(22 pages)
(30 pages)
(30 pages)
(28 pages)
(18 pages)
(18 pages)
(30 pages)
(68 pages)
(18 pages)
(22 pages)
(30 pages)
(30 pages)
(28 pages)
© 2020, manymanuals.com. All rights reserved. | 0.661 s |
 Manymanuals.com
 Manymanuals.de
 Manymanuals.fr
 Manymanuals.it
 Manymanuals.pl
 Manymanuals.cz
 Manymanuals.es
 Manymanuals-pt.com
Comments to this Manuals