ProForm PFTL61930 User Manual
Browse online or download User Manual for Treadmills ProForm PFTL61930. ProForm PFTL61930 User`s manual
- Page / 34
- Table of contents
- TROUBLESHOOTING
- BOOKMARKS
- USER'S MANUAL 1
- TABLE OF CONTENTS 2
- IMPORTANT PRECAUTIONS 3
- SAVE THESE INSTRUCTIONS 4
- BEFORE YOU BEGIN 5
- ASSEMBLY 6
- DANGER: Improper connection 10
- TREADMILL OPERATION 10
- LINE OUT 18
- AUDIO OUT 20
- TROUBLESHOOTING 27
- EXERCISE GUIDELINES 29
- Kirk Niebergall 33
- ORDERING REPLACEMENT PARTS 34
- LIMITED WARRANTY 34
Summary of Contents
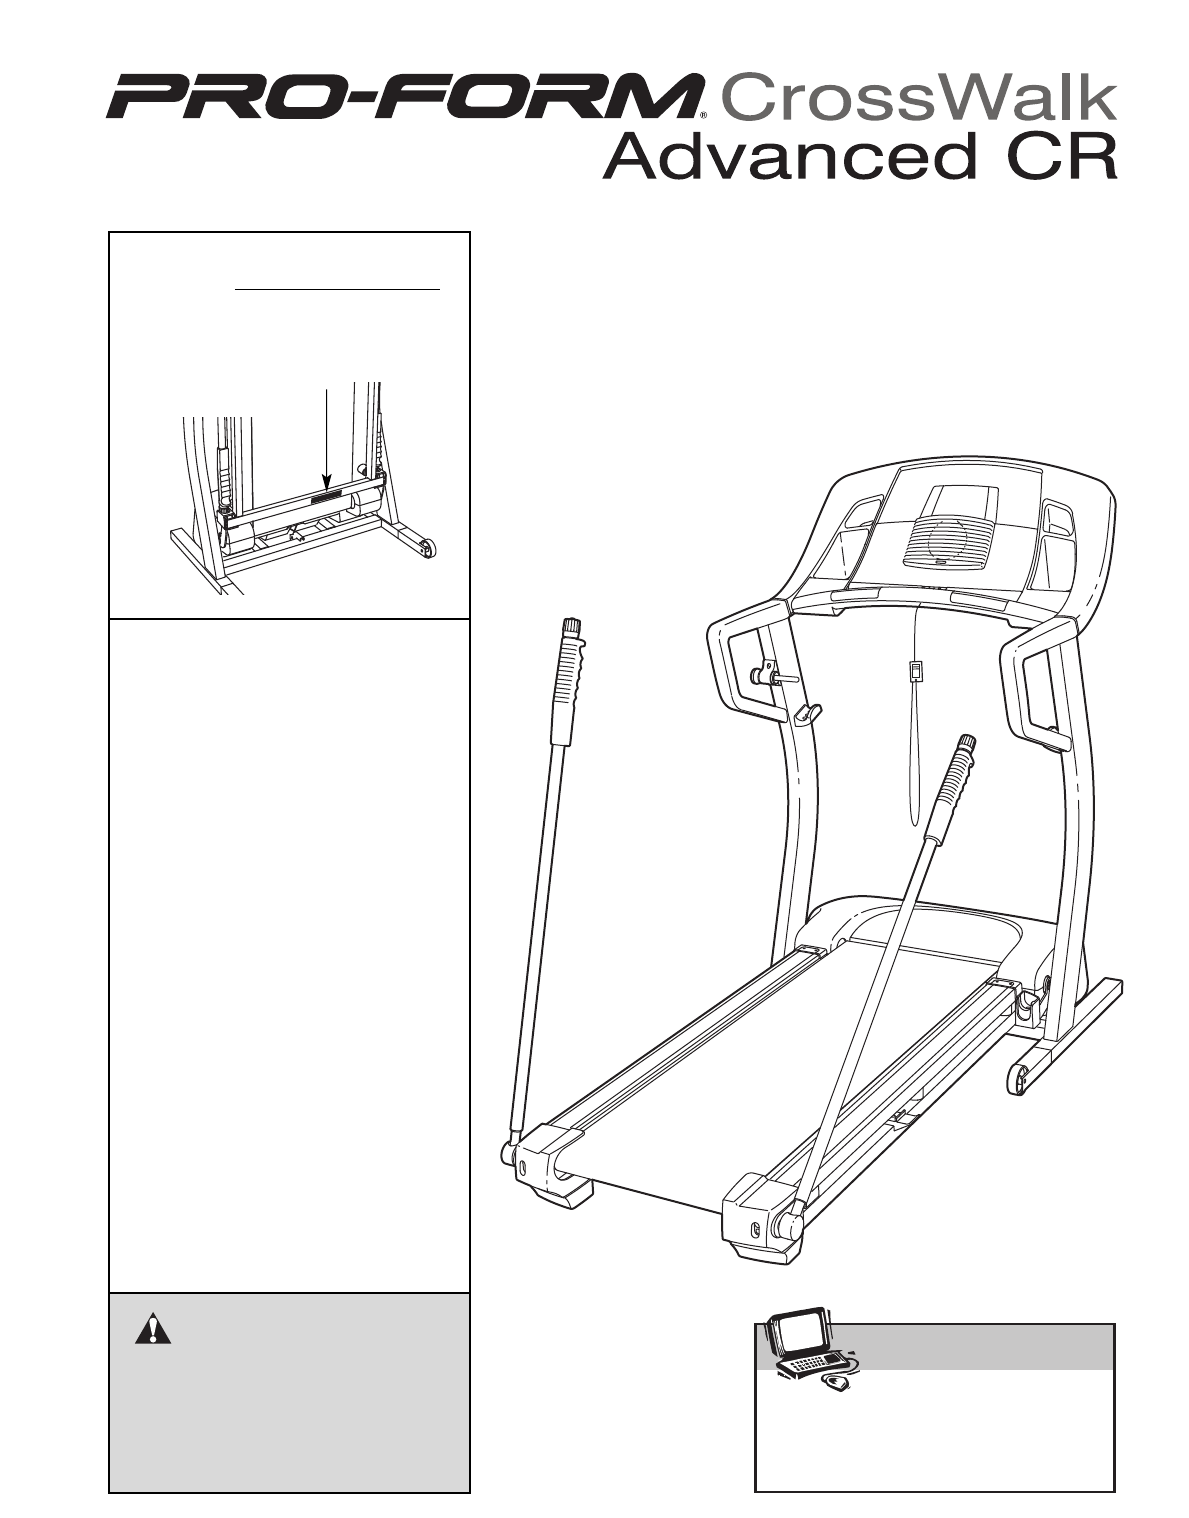
Model No. PFTL61930 Serial No. CAUTIONRead all precautions and instruc-tions in this manual before usingthis equipment. Save this man-ual for future r
10THE PERFORMANT LUBETMWALKING BELTYour treadmill features a walking belt coated withPERFORMANT LUBETM, a high-performance lubricant.IMPORTANT: Never
11FEATURES OF THE CONSOLE The treadmill console offers an impressive array of features designed to help you get the most from yourworkouts.While the m
12HOW TO TURN ON THE POWERPlug in the power cord (see page 10). Locate the reset/offcircuit breaker on thetreadmill near thepower cord. Makesure that
13Speed display—Thisdisplay shows thespeed of the walkingbelt. Note: When theMetric indicator besidethe display is lit, theconsole will display speed
14HOW TO USE PRESET PROGRAMSInsert the key fully into the console.See HOW TO TURN ON THE POWER on page 12. Select one of the preset programs.When the
15To stop the program at any time, press the Stopbutton. The Pace/Time display will begin to flash.To restart the program, press the Start button orth
16HOW TO USE HEART RATE PROGRAMSPut on the optional chest pulse sensor (seepage 23).You must wear the optional chest pulse sensorto use a heart rate p
17Press the Start button or the Speed + button tostart the program.A moment after the button is pressed, the tread-mill will automatically adjust to t
18To use iFIT.com CDs, the treadmill must be connectedto your portable CD player, portable stereo, homestereo, or computer with CD player. See pages 1
19HOW TO CONNECT YOUR HOME STEREONote: If your stereo has an unused LINE OUT jack,see instruction A below. If the LINE OUT jack isbeing used, see inst
2TABLE OF CONTENTSIMPORTANT PRECAUTIONS . . . . . . . . . . . . . . . . . . . . . . . . . . . . . . . . . . . . . . . . . . . . . . . . . . . . . . .
20HOW TO CONNECT YOUR VCRNote: If your VCR has an unused AUDIO OUT jack,see instruction A below. If the AUDIO OUT jack isbeing used, see instruction B
21If the speed or incline settings are too high or toolow, you can manually override the settings at anytime by pressing the Speed or Incline buttons
22HOW TO USE PROGRAMS DIRECTLY FROM OUR WEB SITETo use programs from our Web site, the treadmill mustbe connected to your home computer. See
23THE INFORMATION MODE/DEMO MODEThe console features an information mode that keepstrack of the total number of hours that the treadmill hasbeen used
24HOW TO USE THE UPPER BODY ARMSAs you walk on the treadmill, you can either hold thehandrails or use the upper body arms. When you arenot using the a
25HOW TO FOLD AND MOVE THE TREADMILLHOW TO FOLD THE TREADMILL FOR STORAGEBefore folding the treadmill, adjust the incline to the lowest position and s
26HOW TO LOWER THE TREADMILL FOR USE1. Hold the treadmill firmly with your left hand. Pull the latchknob to the left and hold it. Pivot the treadmill
27PROBLEM: The power does not turn onSOLUTION:a. Make sure that the power cord is plugged into a surge suppressor, and that the surge suppressoris plu
28Locate the Reed Switch (24) and the Magnet (18) onthe left side of the Pulley (114). Turn the Pulley untilthe Magnet is aligned with the Reed Switch
29The following guidelines will help you to plan your ex-ercise program. For more detailed exercise informa-tion, obtain a reputable book or consult y
3WARNING: To reduce the risk of burns, fire, electric shock, or injury to persons, read thefollowing important precautions and information before oper
30PART LIST—Model No. PFTL61930 R0104B1 2 Foot Rail Base2 1 Left Foot Rail3 1 Left Front Endcap4 2 Belt Guide5 4 Belt Guide Screw6 45 3/4” Screw7 2 Ba
31101 1 Motor Lock Nut102 1 Incline Plate103 2 Black Isolator104 1 Pulse Bar105 1 Pulse Wire106 2 Extension Leg107 2 Wheel Bolt108 2 Wheel109 2 Roller
606180109608010961595011011665115354369424644694148669694555496396958212106457625311171145217161645541867382145129131987719146369696751801038015103801
Kirk NiebergallPRODUCT LIT. GROUP687172736668410510490868786858988916666694669566666666611811892939392979636988312110010099368379215912110012110012110
Part No. 206226 R0104B Printed in USA © 2004 ICON Health & Fitness, Inc.ORDERING REPLACEMENT PARTSTo order replacement parts, call our Customer S
20. When using iFIT.com CDs and videos, anelectronic “chirping” sound will alert youwhen the speed of the treadmill is about tochange. Always listen f
5Congratulations for purchasing the PROFORM®CROSSWALK ADVANCED CR treadmill. The CROSS-WALK ADVANCED CR treadmill offers an impressivearray of feature
3/4” Screw (6)–121” Bolt (71)–2Internal StarWasher (72)–21” Tek Screw (121)–41” ScrewFor help identifying the assembly hardware, see the drawings belo
8282113738371717272385833. With the help of a second person, hold the ConsoleBase (85) near the Uprights (82) as shown. Connect the Wire Harness (83)
85. Identify the Left and Right Handrails (68, 81); the curvededges of the Handrails should be on the outside (see theend views of the Handrails in th
91. Make sure that the power cord is unplugged. Removethe indicated 3/4” Screw (6) and the Access Door (94)from the back of the Console Back (95). 2.
Related products and manuals for Treadmills ProForm PFTL61930
 (26 pages)
(30 pages)
(18 pages)
(30 pages)
(30 pages)
(0 pages)
(28 pages)
(36 pages)
(22 pages)
(19 pages)
(28 pages)
(18 pages)
(22 pages)
(30 pages)
(26 pages)
(26 pages)
(30 pages)
(18 pages)
(30 pages)
(30 pages)
(0 pages)
(28 pages)
(36 pages)
(22 pages)
(19 pages)
(28 pages)
(18 pages)
(22 pages)
(30 pages)
(26 pages)
© 2020, manymanuals.com. All rights reserved. | 2.243 s |
 Manymanuals.com
 Manymanuals.de
 Manymanuals.fr
 Manymanuals.it
 Manymanuals.pl
 Manymanuals.cz
 Manymanuals.es
 Manymanuals-pt.com
Comments to this Manuals